Pages

Tuesday, February 11, 2014

Tuesday Tutorial


Welcome to my first Card Tutorial. I hope to post tutorials at least once a month or more. Some will be made with the Cricut Machine and some will be stamped or quilled. If you have any suggestions for cards you would like to see, please leave me a comment and let me know what you would like.

The first card is a Valentine made with the Cricut machine. For this card I used the Artbooking cartridge. If you don't have this cartridge don't worry, I'll show you some options to make a similar card at the end of the post.


Here is what you will need to make this card:

1 - 8 1/2" x 5 1/2" White Cardstock for card base
1 - 5 1/4" x 4" Pattern Paper of your choice (The paper I used is from the Doodlebug Sweetheart 6 x 6 paper pad.)
1 - 4" x 3 1/4" Water Color paper
Light Pink paper for doily heart and heart banner
Dark Pink paper for flower
Green paper for leaves
Spun Sugar Distress Ink
Picked Raspberry Distress Ink
Festive Berries Distress Ink
Ink Blending tool or ink dauber
Sentiment Stamp (Mine is from Simon Says Stamp Only Have Eyes for You stamp set)
Black ink
My Mind's Eye Collectable "I'm With" Enamel Dots
Adhesive and foam tape or pop dots.

As I mentioned above, all of these cuts are from the Artbooking cartridge. Cut size, page number and keys used are listed in the photos. You can click on the photos to make them bigger.
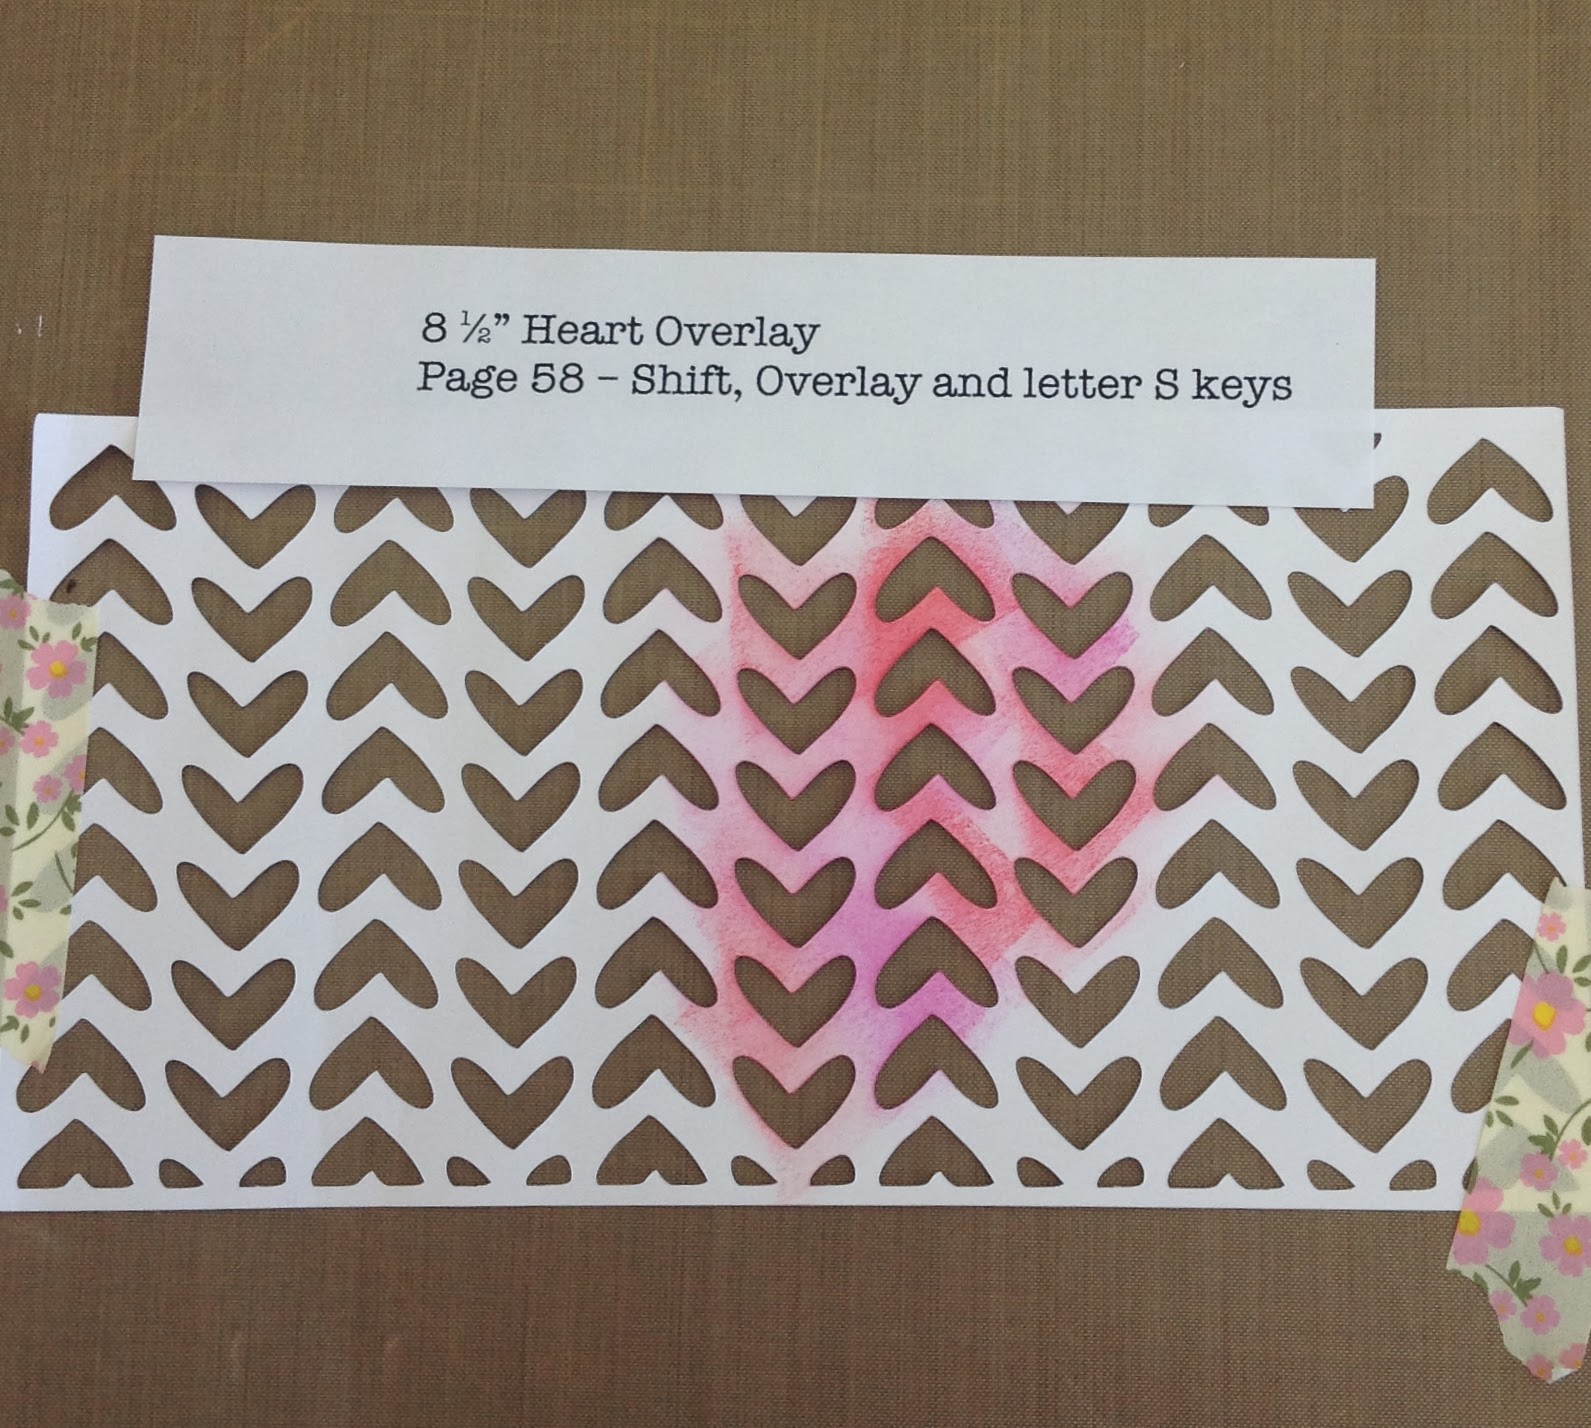


We will only use the heart from this cut, save the little banner for another card.


Now that all your cuts have been made, let's put the card together. Tape the piece of water color paper to your table/cutting mat. (I have an Inkessentials Non Stick craft sheet on my table.) Securely tape the heart stencil on top of the water color paper. You want to make sure that your stencil doesn't move.


Using and ink blending tool or a dauber, ink a portion of the stencil with the Spun Sugar Distress Ink. Add some Picked Raspberry and Festive Berries Distress Ink over the Spun Sugar making sure to leave some of the Spun Sugar ink showing. 


This is what your water color paper should look like after you are finished inking. I also used some of the Spun Sugar ink to ink the edges of the paper, it doesn't show up very well in the photo. 


Referring back to the finished card:

Glue the pattern paper to the card base. 

Add the inked heart water color paper to the card. 

Stamp your sentiment in the lower left corner of the water color paper. 

Attach the heart doily with pop dots or foam tape.

Glue the leaves to the back of the flower and glue them on top of the heart.

Add the enamel dots to the card and you are done!


If you don't have the Artbooking cartridge, this card would be pretty easy to duplicate with other cartridges.

Any cartridge that has a heart can be used to make the stencil. Cut rows of 1/2" hearts wide enough to fit your paper (I use the paper saver key). The little heart on the flower is also 1/2".

Doodlecharms has a scalloped heart. A plain heart would work well too. Cut the heart at 2".

Any flower and leaves can be used for the card. One of my favorite flowers is on the Plantin Schoolbook cartridge. Cut the flowers and leaves at 1 1/2". There is a heart on this cartridge too.

I hope you enjoyed this tutorial. If you make a card, please leave a link in the comments so I can see your card.

See you next time!


Cathy


Saturday, February 1, 2014

February Cricut Class


Wow it is time for February Cricut classes! Where did January go?

This month we have a couple of cards for the guys, a couple for the ladies and a St. Patrick's Day card.

Our first card is a flowery Thinking of You card from the Walk in My Garden cartridge. After I took the card to the store, I found some red twine that I tied around one side of the bread tag. I'll post an updated photo on Monday.


The first card for the guys is from the Plantin Schoolbook cartridge.  


The St. Patrick's Day card is from the Accent Essentials and Paper Doll Dress up cartridges.
I like the gold circles (coins) and shamrocks, straight from the pot of gold!


I think the next two cards are some of my favorites. I wanted to see if I could make the same card in a male version and a female version. The tag border is from the Mickey and Friends cartridge. The flowers, leaves and stars are from the Plantin Schoolbook cartridge. 


Class dates are:
Monday, February 3: 10:30 am - 12:30 pm and 5:30 - 7:30 pm
Friday, February 14: 10:30 am - 12:30 pm

Monday, January 20, 2014

January Quilling Class

Today I wanted to share the Valentine cards for the January Quilling class. The class is Friday, January 24 - 10:30 am - 12:30 pm.

Hope you can join me to make these sweet quilled cards.


- Posted using BlogPress from my iPad

Sunday, January 12, 2014

January Cricut Class


Happy New Year! 

This month in class, we are making Valentines. 

Our first card is a trio of Valentine cards sealed with a heart from the Doodlecharms cartridge. The glittery outline on the hearts is a silver Wink of Stella pen. I love the little bit of glitter that the pens add.


Our next card is a Frog Prince just waiting to be kissed! He is from the Create a Critter 2 cartridge. His crown is outlined in the gold Wink of Stella pen.


This card is from the Creative Cards cartridge, and the little banner is from the Create a Critter 2 cartridge.


The Love Stamp is from the Elegant Edges and the Artiste cartridges. A little bit of black pen around the edge of the letters makes them stand out.


Our last card is a sweet heart from the Artbooking Cartridge. The heart is outlined with the silver Wink of Stella pen. The flowers are from the Flower Shoppe cartridge.


Class Dates are:
Friday, January 17: 10:30 am - 12:30 pm
Monday, January 20: 10:30 am - 12:30 pm and 5:30 - 7:30 pm

Hope to see you in class!


Monday, December 2, 2013

December Cricut Classes

I can't believe it is December already, where has this year gone? I want to thank everyone for taking my classes this year. I enjoy designing cards and sharing them with you.

This month we are focusing on cards for men. We have a thank you card, a birthday card and several that can be used for any occasion.

First up is the Thanks card. This card is from the Artiste Cartridge.


Next is a radio from the Nifty Fifties cartridge.


So this next one may not be for a guy, but I couldn't resist this little gift giving mouse.
He is from the Winter Frolic cartridge.


Next up we have a guy relaxing in a hammock. This one is from the Wild Card 2 cartridge.


And finally my favorite, a S'mores Snowman. Isn't he cute? He is from the Accent Essentials and Winter Frolic cartridges.


We only have one class this month because of the holidays; Friday, December 6 at 10:30. Hope to see you there.

Happy Holidays!


Wednesday, November 13, 2013

Christmas is Coming!

I know this is really late. I had the idea to do an Advent Calendar for this month's classes. It all started well and then I ran into some problems with my first idea. The second idea was cute, but didn't get rave reviews from the family. So finally, Steve took part of my second idea and came up with this house. (I'm going to turn him into a crafter yet!)

So here it is - the Christmas countdown house.


I used the following cartridges: Christmas Cheer;Tags, Bags, Boxes and More 2; Create a Critter 2; Freshly Picked and Artiste.


Class dates are:
Friday, November 15 - 10:30 am - 12:30 pm
Tuesday, November 19 -10:30 am - 12:30 pm and 5:30 - 7:30 pm


Posted using BlogPress from my iPad

Wednesday, October 9, 2013

October Cricut Class

Happy Fall! Hope you are enjoying the cooler weather and the beautiful fall colors.

We are making Thankful/Thanksgiving cards in classes this month. I love using fall colors in cards.

All the cards are made with kraft cardstock. It was a cloudy day when I took the pictures, so they didn't turn out as well as I would have liked.


Our first card is from the Artbooking and Cricut Sampler cartridges. Such pretty leaves. We will save the cut out word "thanks" for another card.


The next card is from the Accent Essentials cartridge.  The sentiment was done in the Cricut Craft Room (I'll provide that cut.) I'm kind of obsessed with hexagons lately.


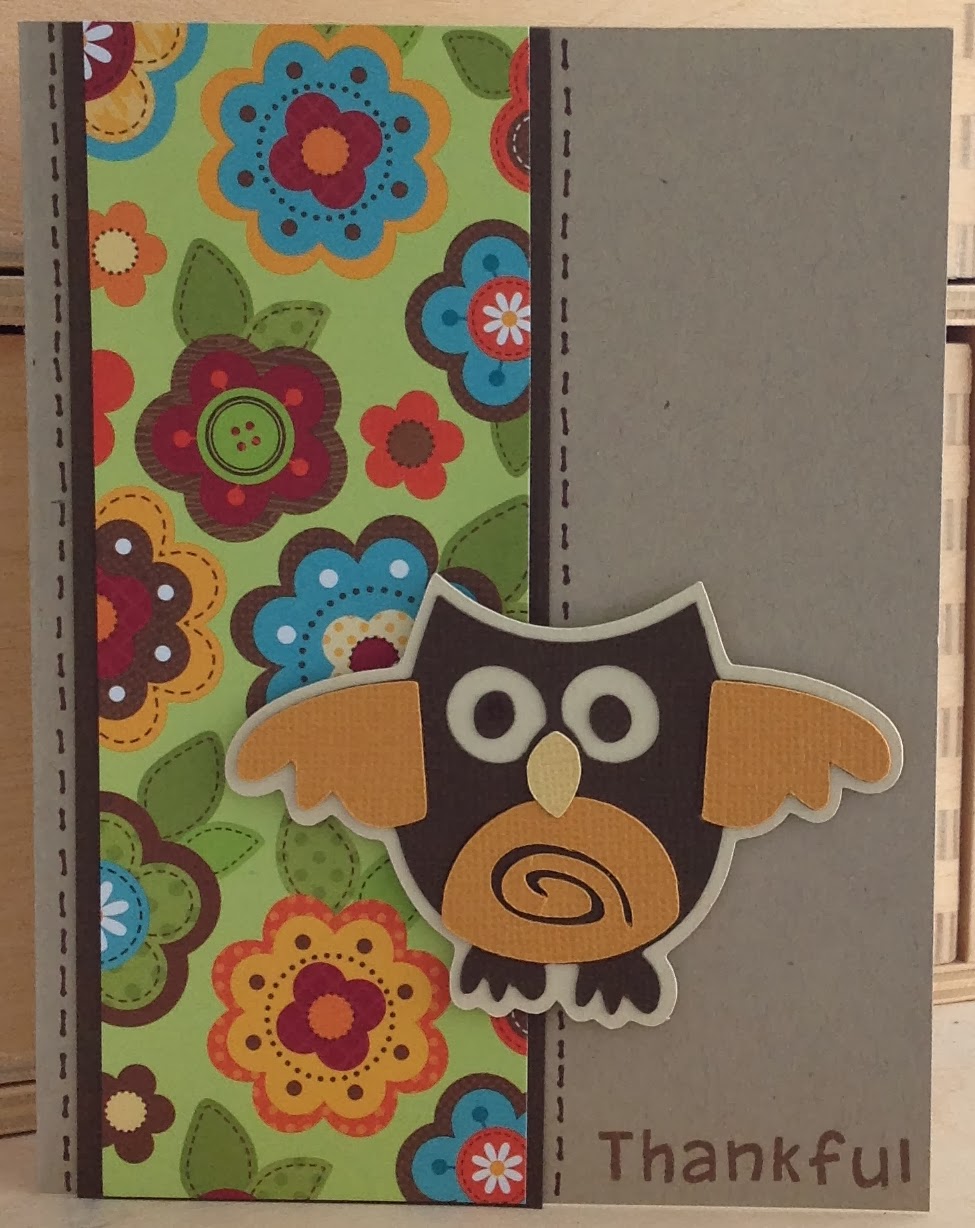
The cute little owl is from the Straight from the Nest cartridge.   


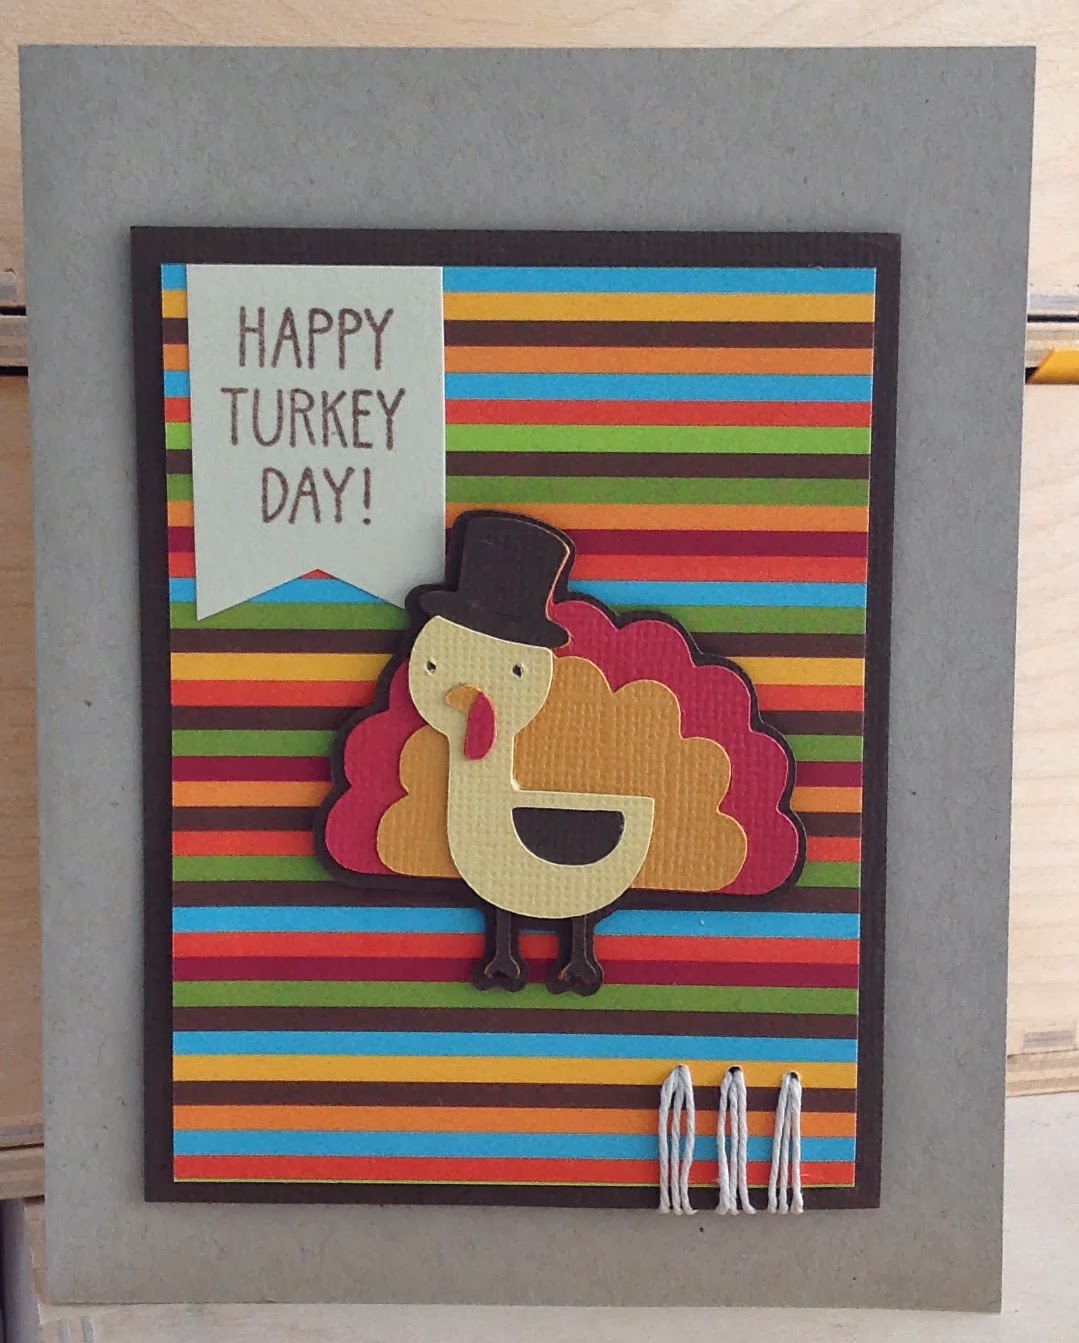
A little turkey from the Create A Critter 2 cartridge.


The last card is a mix of cartridges. The leaves are from the Artbooking Cartridge. The "thanks" is the cut out from the first card and the acorn is from the Create A Critter 2 cartridge.

Class dates are:
Tuesday, October 15 - 10:30 am - 12:30 pm and 5:30 - 7:30 pm
Friday, October 18 - 10:30 am - 12:30 pm

Hope to see you in class!